Easily Create an XML Sitemap & Submit it to Google [How To]
PUBLISHED:
Jun 30, 2023
Updated 7/31/24
Ready to create a sitemap and submit it to Google? You’re in the right place.
No matter your level of web design expertise, building a sitemap and submitting it to search engines like Google and Bing is an essential step in the search engine optimization (SEO) process.
What is a sitemap? Well, there are two types people usually think of - an HTML sitemap, which is like a regular ol' web page that lists all of your pages in a visually pleasing format for humans to look at. Then, there is an XML sitemap, which is a list of URLs that looks more like a code salad bar, like so:
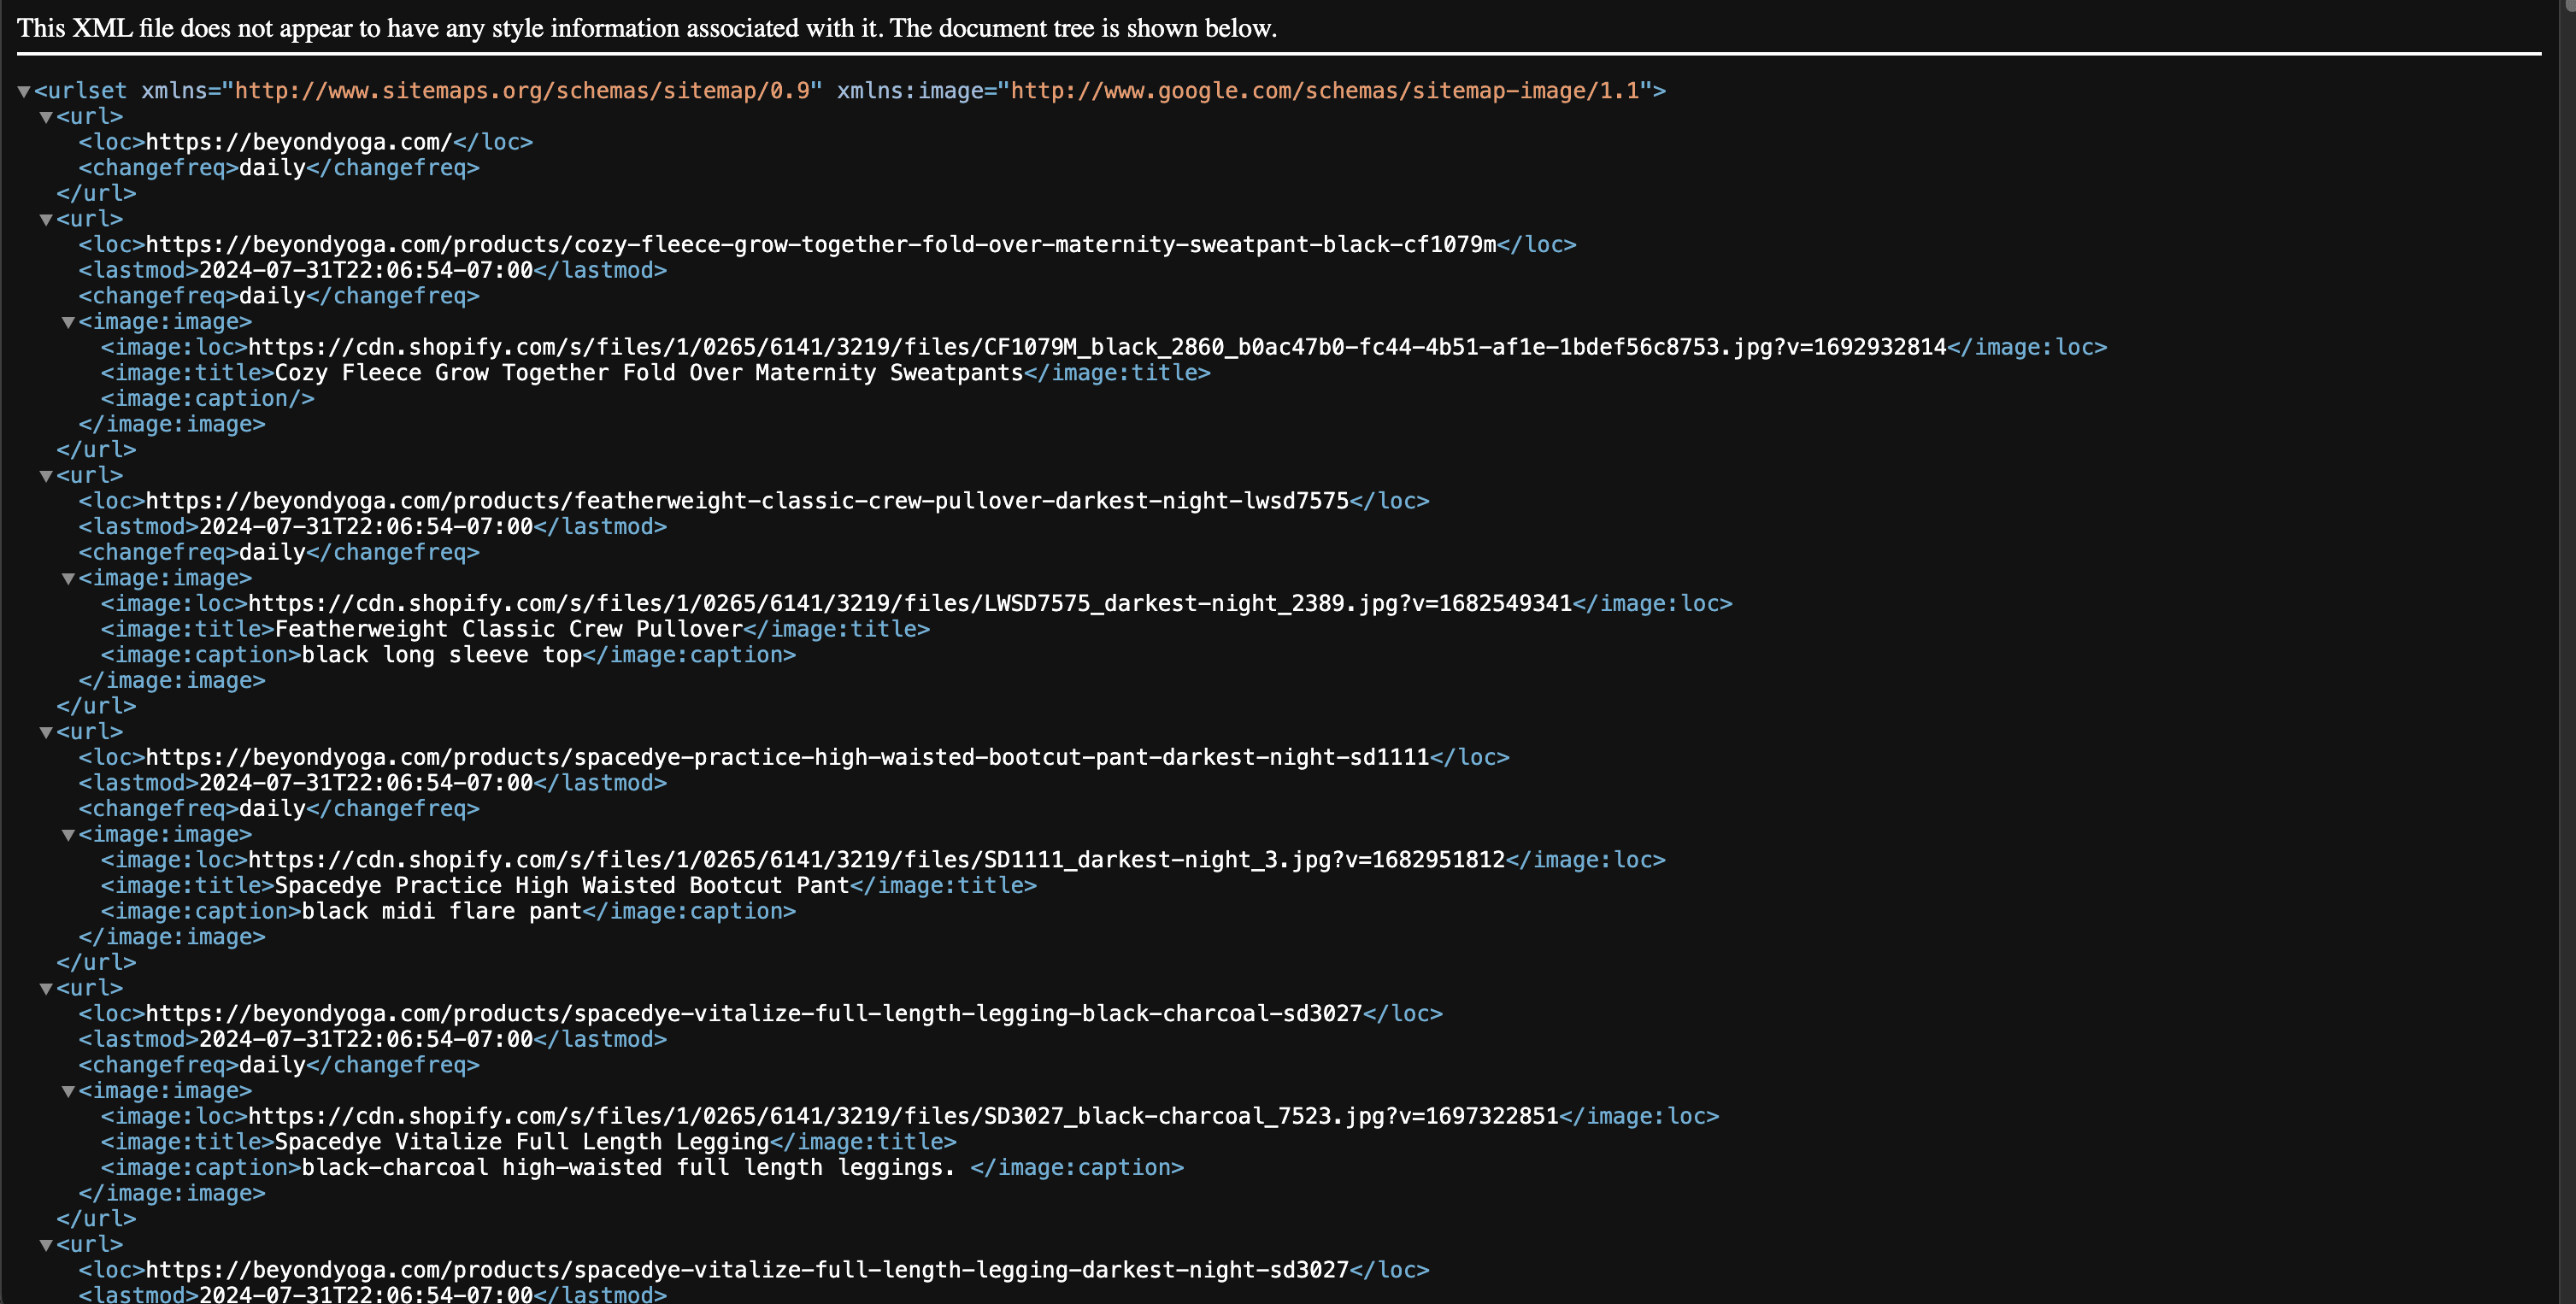
In this case, a sitemap is an XML file that lists all of your website URLs, that you feed to search engine spiders. This document helps them index and locate your content, because it lists all of your links in one document, and the search engine crawlers can just go from page to page to understand your website. This makes it simpler for content to be indexed by search engines and displayed in results.
It’s so important that search engine dashboards like Google Search Console and Bing provide an area where you can submit your sitemap directly to them.
Before you can submit your sitemap, you need to either find your sitemap file URL, or create one. Many website platforms come with sitemap functionality by default, or the ability to generate a sitemap using plugins, so you don’t have to build an XML file manually.
In this post, I’ll cover creating an XML sitemap in WordPress, Squarespace, Webflow, and Showit. Then we’ll walk through how to submit it to Google.
Let’s get started!
Step 1: Find your website’s XML sitemap URL
Here's the thing - you probably don't need to actually create an XML sitemap. Most legitimate website platforms these days will provide one for you or if they don't, you can use a plugin to create it. I'll walk you through how to find it for each of the most popular platforms.
WordPress XML Sitemaps
There are 2 plugins I recommend and use for creating WordPress XML sitemaps. They are two of the most popular SEO plugins for WordPress: Yoast and RankMath.
Via Yoast
Yoast is a powerful SEO plugin for WordPress that can automatically create an XML sitemap of your WordPress website. It comes with some pre-set settings which should be sufficient for most websites, but you have the ability to customize the plugin according to your unique needs, including the ability to decide what types of content should appear in the sitemap.
This means you can dictate whether posts, pages, categories, post tags, authors, and even custom post types should be included in the XML sitemap. Be sure you customize what goes into it before submitting it.
If it’s not live, you can activate your sitemap by following the instructions here.
Via RankmathRankmath is a another great free SEO plugin for WordPress, that can also automatically create an XML sitemap for your website. You can customize your sitemap settings in the plugin here: Once you have customized your Yoast or Rankmath sitemap settings, you’ll find your sitemap by going to: yourdomain.com/sitemap_index.xml
Showit XML Sitemaps
According to the Showit help docs, “Showit automatically generates a sitemap of your Showit pages when you publish your site.”
This means if your website is hosted on Showit, the platform will automatically create an XML sitemap for you as soon as you publish, without needing to do anything else. If you have a WordPress blog integrated, you’ll also need to create a WordPress sitemap and submit them both.
To find your Showit sitemap URL, simply go to yourdomain.com/siteinfo.xml.
This is the address you will use to submit to Google Search Console.
But wait!! You're not done!! Showit has 2 Sitemaps
If you're using WordPress integrated with your Showit site, you'll need to also grab your blog sitemap URL.
Otherwise, you'll be missing a significant chunk of your website once you submit it to Google.
Go to yourdomain.com/sitemap_index.xml to find the sitemap of the Wordpress section of your site. Then make sure to save this URL so you can submit both to Google when you're ready. You'll simply follow the submission process twice.
Squarespace XML Sitemaps
According to Squarespace docs https://support.squarespace.com/hc/en-us/articles/206543547-Your-site-map “Your Squarespace site comes with a site map using the .xml format, so you don’t need to create one manually. It includes the URLs for all pages on your site and image metadata for SEO-friendly indexing.”
If you’re on Squarespace, simply navigate to your website address plus /sitemap.xml at the end of your domain to get to your sitemap.
Webflow XML Sitemap Setting
Like the other website platforms, Webflow automatically creates an XML sitemap for you that you simply turn on. To do so, visit Site settings > SEO tab > Sitemap section. Then, toggle Auto-generate sitemap to “Yes” to enable the auto-generated sitemap.
Step 2: Submit Your Sitemap to Google
Yay, now you’ve got your sitemap created and you’ve got the URL in hand. Great job! Now it’s tie to submit it to search engines, so they know what pages of your website are important.
Before submitting your sitemap, double-check that it contains all the correct information and any errors are corrected. You can do this manually or by using a sitemap crawling tool. What you’re looking for here is that all of the links work, and there are no pages listed that you don’t want found by search engines.
Don’t submit a sitemap when your website has broken links, missing images, orphaned pages!
To submit your sitemap, you’ll navigate to your website’s profile in Google Search Console. (If you don’t already have your site set up and claimed in GSC, do that now.)
Click into “Sitemaps” in the Indexing section on the left hand site of the screen, and enter your Sitemap URL. Then you’ll click submit.
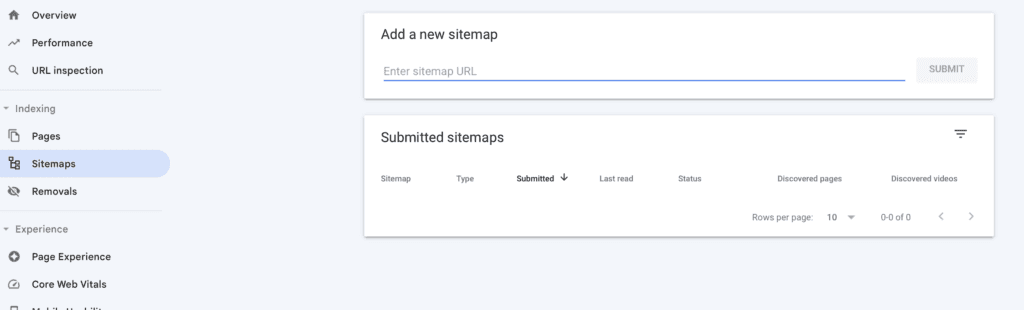
That’s all there is to it! Once you’ve submitted your sitemap, Google will begin crawling it and will let you know if it finds errors.
You don’t need to submit your sitemap again unless the address changes.
Happy optimizing!

By Hannah Martin
Hannah is a long-time SEO expert and website marketing strategist. She has been optimizing websites since 2010, and was previously VP of Operations at an SEO agency before starting her own SEO and web design business in 2016. She has worked with brands like Beyond Yoga, Gerber Childrenswear, Sanctuary Clothing, and dozens of small independent businesses helping them improve their SEO and build websites that work to grow their business. She's a Wordpress geek, Squarespace Circle member, and now shares her knowledge with others at TheSEOKitchen.com.